Gravel Lane Work Blog
Read from the BOTTOM up.......
Thursday, November 02, 2006
" Garage Mahal "
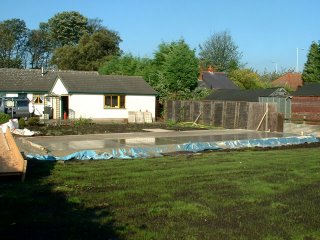
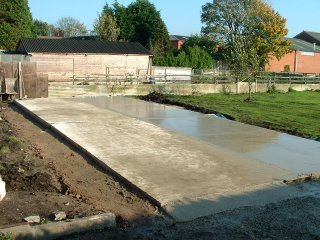
Although accused as I have been, of having too many garages and sheds already, I couldn't let this one go....The garage you see in the background, next door, has been given to me for FREE..!! It is 16' x 12' and is going to come in very handy for keeping all the "dirty" things in, like the tractor, trailers, lawn mowers, rotavators, muddy off road bikes ;) etc. etc., keeping my nice big workshop garage all shiny and clean for my other automotive projects.!!!
The base was poured yesterday (not free !!)
... now who wants to help with a garage rebuild :)

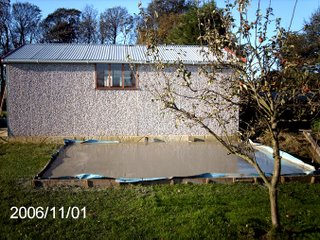
The base was poured yesterday (not free !!)
... now who wants to help with a garage rebuild :)


Work goes on ..........
So it finally looks like the extension is nearly finished.!!! ....then the fun starts.!!!
The bungalow is the main project, and will soon be on the way to modernisation. We have many ideas to make it how we want it.
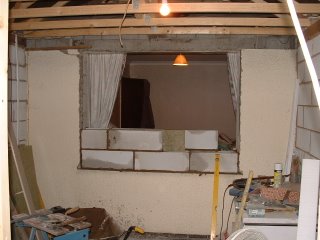
The first project will be to knock a wall down in the lounge to create a bigger kitchen / dining room. At the same time I'm making this mess, I am going to build a large fireplace feature with a log burning stove in the main lounge. This will need a flue pipe installing through the roof, can't wait :) I have re-claimed 700 old rustic bricks (seen on pallets in the picture below)to build a fireplace along the lines of the design below.


Saturday, August 19, 2006
Thursday, August 17, 2006
Insulation & Electrics
The floor is now insulated with 50mm kingspan on visqueen, with 22mm flooring boards.
All external walls are now studded with 60mm Kingspan between stud and block. Visqueen will be applied to studding before plasterboarding. The electrical "first fix" is completed with new consumer unit and wiring to all sockets, lights and switches etc.

All external walls are now studded with 60mm Kingspan between stud and block. Visqueen will be applied to studding before plasterboarding. The electrical "first fix" is completed with new consumer unit and wiring to all sockets, lights and switches etc.

Internal ceiling height
The ceiling height inside the existing garage was looking a bit low, more so because of the required floor insulation etc. I employed a structural engineer to do calculations and drawings for altering the 22 existing roof trusses to allow another 30cm ceiling height. This all worked out well (although time consuming) All the roof trusses had to be cut, legs strengthened, and the lower truss beams bolted up to the new level. Dawn cut all the studding (ohhh my nails !! ) for the bolts while I cut and assembled the trusses. Worth it in the end though !!
This picture shows the strengthening legs and bolts etc.

This picture shows the strengthening legs and bolts etc.

Saturday, February 18, 2006
Saturday, December 31, 2005
Shiver me timbers.........
Next part of the development is to build a 12' x 8' timber building for storage of "non-workshop" items..!!!!
Most sheds available to purchase are not of the best quality, so I decided to have a go at building a proper one myself, with the luxury of a "freezing cold" indoor build area.!!.....I bought a compressor, a nail gun, and a big pile of timber. Watch this space..!!!


Most sheds available to purchase are not of the best quality, so I decided to have a go at building a proper one myself, with the luxury of a "freezing cold" indoor build area.!!.....I bought a compressor, a nail gun, and a big pile of timber. Watch this space..!!!


Friday, November 18, 2005
Thursday, October 27, 2005
Better weather for the final push !!!
With the left hand side set, the shuttering was moved over in preparation for the right hand side. The concrete arrived and was laid as shown. The slab measures appx. 43' x 17' , and took appx 14cu mtrs of mix.(30+ tons) Most of it was barrowed in, raked, tamped and levelled by myself and Gary, backbreaking work !!! The Legh Arms was much appreciated after each session of this work.!!! Cheers Gaz, I owe you one.!!!


